Adding a Blog Feed to your Storenvy Store
With the recent feature release of Custom Pages you can now easily add new pages to your Storenvy store. This is extremely powerful because for the first time you can now add pages for sizing charts, image galleries and import your blog feed directly into your Storenvy store just to name a few! The more information that you can present your customers the more likely the chance that they will be willing to buy from you and become a lifelong customer. Guest contributor Zach Reed has put together a great step by step guide to get you going!
——-
First, setup a custom page for your blog feed. For help with that, check this article.
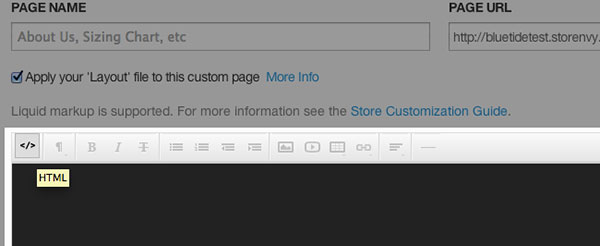
Give your page a title, the url you want, and make sure the checkbox for “Apply your ‘Layout’ file to this custom page” is checked.
Switch to the HTML view in the page editor so you can copy and paste in the plugin code:
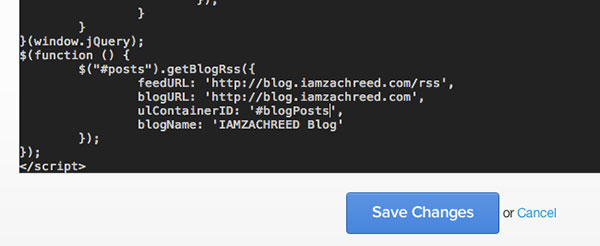
Add the plugin code. Copy and paste all of the code below into the HTML view of the page editor.
Fill in the plugin info for your blog. This plugin created by Zach Reed requires you to fill in some info so it can display your external blog posts. Scroll to the bottom of the editor and you will replace the feedURL, blogURL, and blogName that is currently in there. You can leave the ulContainerID parameter alone. You will just replace my example links and name that is in there.
For example:
- ”https://yourblog.tumblr.com/rss”
- ‘https://yourblog.tumblr.com’
- ‘My Awesome Blog’
NOTE: If you’re not sure about the feedURL, look for a link in your blog that talks about RSS or Atom, and copy that URL. That is the feed URL you will be looking for. For example, if you’re using Tumblr your feedURL would be something like: http://example.tumblr.com/rss, on WordPress it will be http://blog.com/feed
For more information and help for customizing your Storenvy store make sure to check out support.storenvy.com

