Tips for selling in person : Booth setup and merchandising
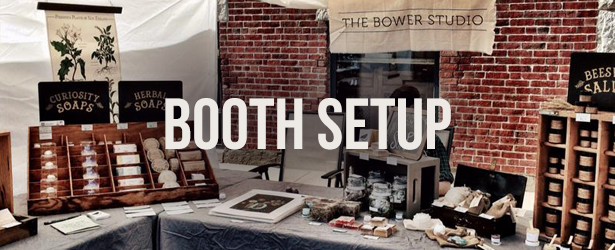
When you sell online, it’s easy to start to miss those in-person conversations, that feeling of making eye contact with a customer and explaining your story to them. Selling at a fair is a great way to see in person how your products fare to loads of “window shoppers”. It’s a great way to see people’s reactions to seeing your products and hearing your story and it’s a great way to let your community know that you’re there! The one big kicker is, as with any business, there is competition, and for fairs your competition is the other booths!
When you start to sell in person, there are a lot of things to consider for your setup that you don’t discover until you immerse yourself into that world. I’ll save you some time and mention a few things to consider for making your booth setup all that it can be.
Booth Location and Setup
The first thing to consider is booth placement, where do you want your booth to be amongst all of the other booths. If you are able to choose your spot, one ideal location is right next to the entrance, so that your booth is one of the first people see when entering the grounds. One thing to consider however, is that a lot of people like to browse first before deciding to purchase, so being somewhere in the middle can also have its benefits, i.e a shopper may be ready to make a purchase by the time they reach your table. One last thought, is that shoppers will also slow down their browsing when getting yummy eats from the food vendors. Setting up right by them could mean more people spending more time looking at your goods as they finish their lunches.
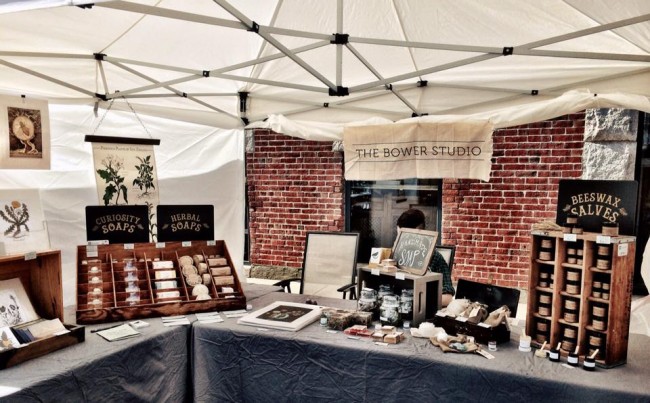
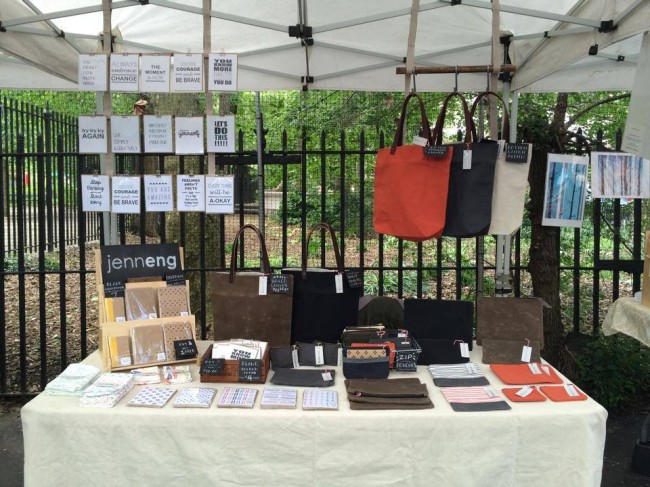
Another booth setup scenario to consider is the tent and table set up. Most booths will have just 1 table, but if you have enough products and the option to snag a corner spot, having 2 tables set up in an L shape will give shoppers the feeling that they are walking into your booth, which gives your booth more of a store vibe and separates you from the rest of the vendors. Having a tent can also help to accomplish this feeling in addition to supplying more wall space to hang up displays, and having an L setup in a tent equals the ultimate win if you really want to make your booth prominent.
Making Your Booth Your Own
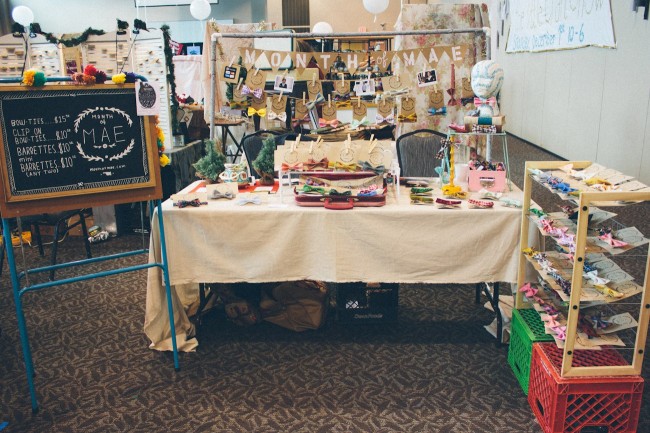
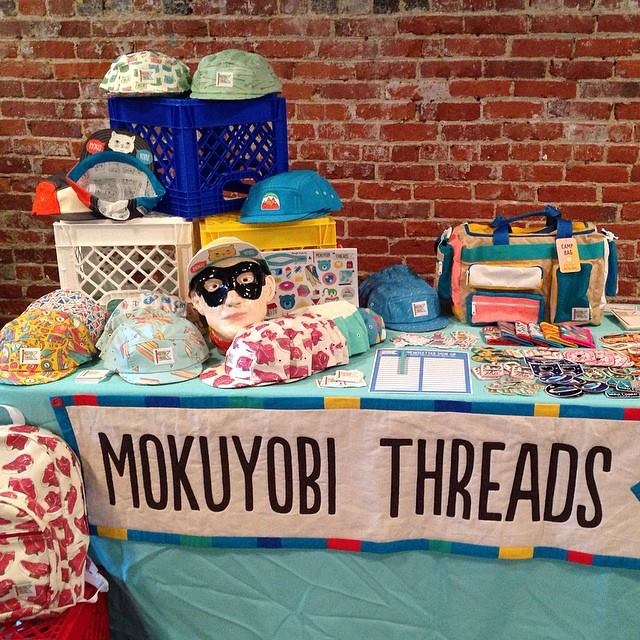
Now that we have booth location and setup down, let’s talk about merchandising your space. For starters, you’ll want to make sure people know your name as they approach, so having your company’s name and tagline (if you have one) located somewhere prominent is important. Most vendors display their name with a billboard right in front, so it hangs down from the table. However, it you have a tent, hanging it above and behind you could make it easier for people to notice as they’re walking around which is crucial when you are surrounded by several other booths.
One last suggestion is to make a neat display board that you can place on your table, that requires people to get up close to read your name, and then once they’re reeled in, you can start a conversation! Another thing to consider is that shoppers from a distance may want to know what you’re selling, so they can determine if they should approach. Having what you sell, whether it’s a product description or large images of your goods, placed somewhere that is visible from a distance is another thing to consider. It’s also a good idea to put prices somewhere accessible to shoppers, whether on the actual products or a sign that can easily be spotted. When you’re talking to a shopper, if another shopper just wants to know the price, they could get impatient waiting to ask, which could lead to them walking off empty-handed.
When it comes to deciding which products you should bring it’s important to consider quantity and diversity. If you’re starting out, it could be wise to bring a lot of different products to see what shoppers are buying. Once you have this information, you can start to bring more of the products that sell and less of those that don’t. Your back will thank you later!
How you display your products is also important. Do you want to get as much stuff on your table as possible, or highlight only a few of your goods? Remember, that you can store extras underneath your table and if a customer asks about a different color, etc., you can simply pull it from storage! If your products aren’t very expensive, having more out will likely be more beneficial as it you’ll need to sell a lot to make money and this will put more in front of people from the get go. If your products are on the pricier end, having a more refined presentation, which highlights a select few of your goods, will let shoppers know that each product deserves its space on the table. If your products are meant to be worn, remember to bring items that you don’t mind people trying on and a mirror so they can see themselves! Props can also be a valuable visual aid to getting your brand across, and shelving will help to add more space on your table.
Finally, to be more accessible and to give shoppers the opportunity to remember you, bring a credit card device! Credit card readers from SparkPay, PayPal or Square make it very easy to take credit card transactions and are free to setup. It’s also smart to bring water (you’ll do a lot of talking) and bring LOTS of cards, you don’t want to be caught empty handed! Another helpful idea is to bring branded takeaway items that interested people can take for free and remember you at the same time, like pens with your name on them or postcards with your product photography, be creative!
Have you had your first booth yet?

