Unbreakable: Pack Fragile Items Like a Pro
Perhaps the most discouraging form of feedback that online sellers receive comes from customers angry over being shipped products broken in transit. Along with being disappointing for both parties, it can be doubly upsetting because it’s so entirely preventable.
I once sold a three-piece set of nesting Italian terracotta serving bowls with a smooth, white glaze. I placed some newspaper between each bowl and then stuffed some more around the edges for (what I thought was) a little extra insurance. The buyer anticipated giving the bowls as a gift to a friend who had been looking for the set, and—needless to say—they were both quite upset when the box arrived and all three bowls were cracked in two.
I was new to selling at the time and didn’t yet understand the ins and outs of shipping, and assumed that the bigger the box, the bigger the cost. My inexperience resulted in broken pieces time and again because I was trying to save on shipping by using smaller boxes. What’s more, some really nice pieces of work wound up in the landfill.
After a couple more shipments that ended with broken items (and broken customer hearts!), I swore off selling “fragile” items altogether.
A package’s journey
Soon after, I tried to imagine what it must be like for a box to travel through the postal system. As soon as a package leaves our possession, it’s placed in a large basket where other boxes are collected for sorting. From there, it’s routed through various hands, conveyor belts, baskets, and trucks. By the time it reaches its destination, a package has likely faced quite a few opportunities for damage!
Among the many other boxes our packages are shipped alongside, some are likely going to be heavier and sharper, and could possibly even crush our package as they tumble into large bins together. When I consulted with a postal worker about my suspicions, they confirmed that my imagined scenario was very close to the real thing. This is why, he said, shipping carriers recommend you give a good two inches of padding between your fragile items and the box edges.
While a bigger box does figure into the cost of shipping, what matters most is the weight of the package. A bigger box means added weight only from the extra cardboard and packing materials, which usually amounts to very little—and probably significantly less than a replacement product will cost if the one you send originally ends up broken.
Recommended shipping materials
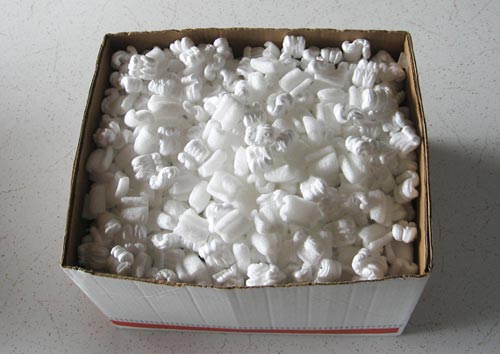
Though it’s great for lining birdcage bottoms, newspaper is not recommended for packaging material. Not only is it below professional standards, but it’s also quite heavy. Take a stack of newspapers in one hand and a huge bag of packing peanuts in the other and see for yourself.
After you’ve ensured that your product has enough room for protection, the next thing to note is the size of the box. The U.S. Postal Service accepts “packages or thick envelopes” with a maximum length (the longest side of the package) plus girth (distance around the thickest part) of 130 inches. Anything larger is considered a “large package,” which will cost more.
Likewise, UPS and FedEx accept packages as long as 165 inches (plus girth) before they start adding costs to your shipment.
Weighing the alternatives
To give an example of how to package a fragile item, I’ve prepared a shipment for a large vintage Pyrex mixing bowl step-by-step in the images below. I first placed it in a box that fits the bowl nicely, but doesn’t allow much room for padding around the edges. (Obviously, a big no-no!)
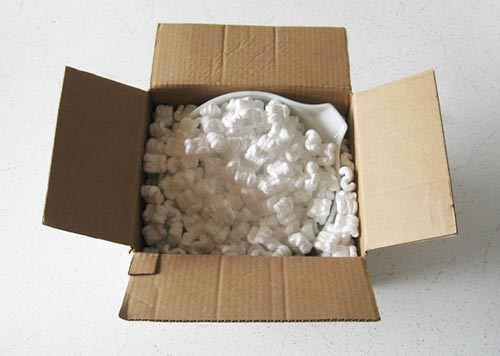
This package weighs 3 pounds, 12 ounces, and has a 35-inch girth. USPS shipping cost: $13.58 for standard, or $18.35 for Priority Mail.
Then I placed it in a bigger box to allow for more padding.
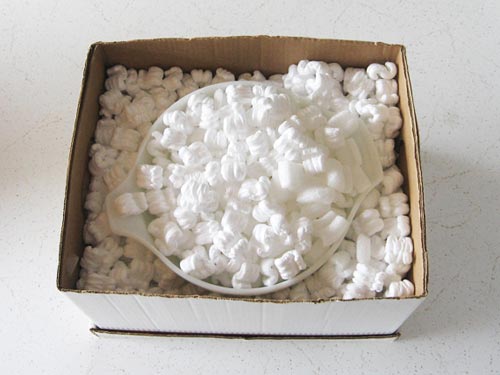
The second package weighs 4 pounds, 8 ounces, and has a 46-inch girth. USPS shipping cost: $14.20 for standard, or $21.20 for Priority Mail. For standard shipping, the cost is only 62 cents more, and the package has a far greater chance of arriving fully intact. Without a doubt, the larger box is definitely the way to go!
Packaging items securely
Now, with the appropriate box selected, it’s time to package this item sufficiently so that it’s protected during shipment.
First, I blanketed the bottom of the box with a few layers of a lightweight, reliable packing material—I decided to go with packing peanuts.
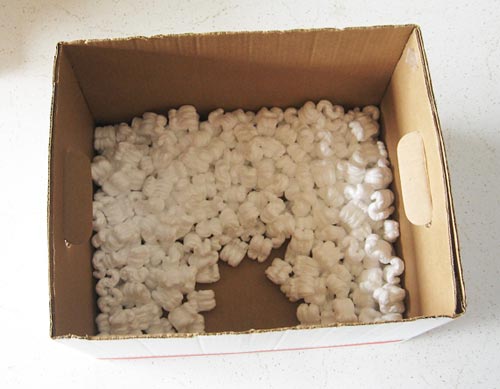
Next, I covered the dish with bubble wrap for added protection.
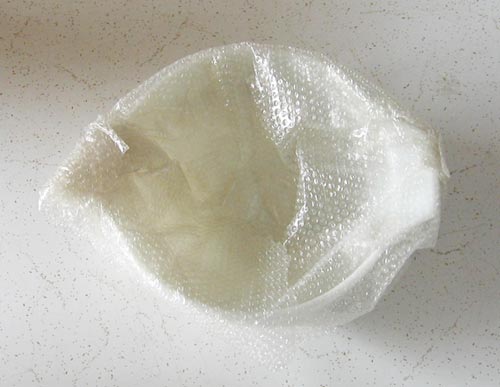
I took extra care to protect any protruding pieces (such as the handles on this bowl) by making sure the bubble wrap was fastened snugly around them.
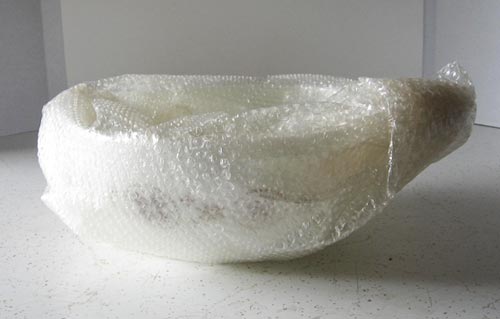
I then placed the product in the box, angling the protruding handles toward the box corners to give them more space.
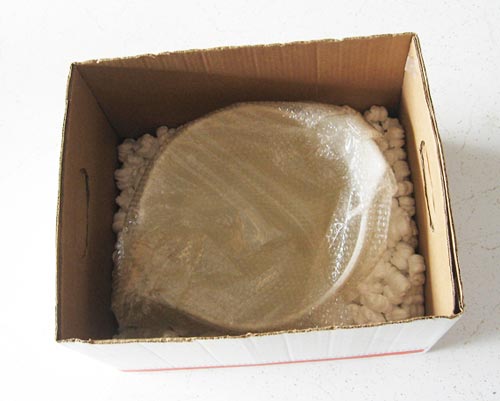
Next, I filled any empty space with packing material. (Make sure to stuff the sides as well!)
Lastly, I closed the box and gave it a little shake to see how secure my packing job really was. As a general rule, if the product is still shifting around, add more packing material before sealing your package.
I decided to wrap this package in brown paper for a more professional look. Whether you wrap your boxes or not, be sure to seal lids, edges and corners with packing tape.

Now that I’m a more experienced seller, I’ve gained confidence in my packaging skills, and have added breakable items back to my listings. I try to collect recycled peanuts and bubble wrap whenever possible, but otherwise I purchase a large bag from the local U-Haul for only $5.
These days, I receive glowing feedback about how well my items are packaged—I hope you will, too!
Like this article? Find even more helpful tips on Auctiva EDU.

